Don't have an account?
Register NowYou have to add to cart at least 5 bottles or any program to make checkout.
- BlogHow To Recycle Your Cannabis Growing Soil
How To Recycle Your Cannabis Growing Soil
Published: October 5th, 2018
Categories:
Cannabis Cultivation
Replacing soil is really common. Unfortunately, disposing of old soil at the end of each harvest is far from sustainable and increases the cost of your grow operation.
That’s where recycling comes in. When done properly, recycling your soil can be a safe and simple way to improve the sustainability of your garden and drive down the financial burden of your operation.
Recycling Your Cannabis Soil: Is It Possible?
Yes, absolutely! Recycling your cannabis grow soil is not only possible, but surprisingly easy and cost-efficient. If you’re interested in recycling your soil, it’s best to grow your first batch of plants in a pasteurised, organic soil mix. You’ll find these mixes at most quality gardening centers.
The main benefit of using a pasteurised mix is that you can be 100% sure that your soil will be free of pathogens, insect eggs, and any weeds. If you notice that your soil supported particularly healthy plants and a decent harvest in its first grow, feel free to reuse it.
If you used a particularly nutrient-rich mix, your soil will likely still contain a good concentration of nutrients after harvest. However, the quantity of soil you’re left with post-harvest is usually a bit lower than what you started with, so you may need to stretch it with some fresh soil.
Commercial, large-scale growers will typically steam-pasteurise their old soil before reusing it. For most home growers, this isn’t an option, seeing as steam pasteurisers can cost anywhere north of $600. Luckily, with a bit of handywork and the help of the sun, you can easily pasteurise your soil at home.
However, recycling your soil can also be a bit risky. Before we explore exactly how to recycle your cannabis soil at home, here are some of the pros and cons of doing so that you should keep in mind.
The Pros And Cons Of Recycling Your Soil
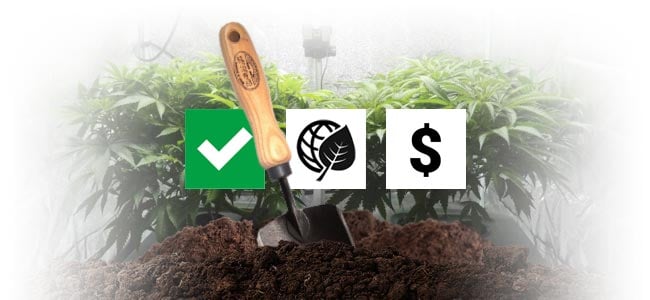
There are obvious benefits to reusing soil.
First of all, it is more sustainable. Traditional farmers would frown at the idea of replacing your soil at the end of each harvest. Unfortunately, this is a reality among cannabis growers, both professional and novice.
Commercial soil production is an energy and labour-intensive process. Not only does the soil have to be produced on a large scale (using plenty of water and energy), it also has to be packaged and shipped to various stores before it ends up in your garden.
Secondly, reusing your soil helps drive down the costs of your entire grow operation. And while soil isn’t exactly the most expensive aspect of your garden, it still helps not to buy new soil every season.
By recycling your soil, you effectively start seeing it as an investment, rather than an expense. While you’ll probably spend more time and effort maintaining the health of your reused soil, you’ll also help minimise the environmental impact of your grow-op, all while saving money.
Unfortunately, reusing your cannabis soil also comes with a variety of risks.
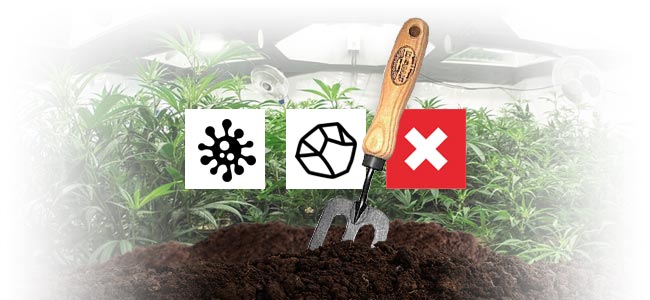
Firstly, old soil can sometimes contain pathogens. These include viruses, fungi, bacteria, nematodes, and other tiny organisms that can introduce diseases into your garden. If your soil contains any of these pathogens, your new plants will be at a high risk of developing diseases or fungal infections, including white powdery mildew, yellow leaf spot, tobacco mosaic virus, and more.
The same goes for pests; if your previous plants suffered pest infestations, your new plants will be at risk too. Many pests lay eggs or survive in old soil for a surprisingly long time.
Secondly, reused soil can lack certain minerals and nutrients, ultimately leading to deficiencies and plant stress. Cannabis plants are particularly volatile when replanted, so you’ll want to make sure their new soil is rich in nutrients.
If you’re not careful, cultivating new plants in old, nutrient-deprived soil can lead to nutrient deficiencies. While these are manageable, they can cause plants to die if not detected early on.
6 Easy Steps To Recycling Your Cannabis Growing Soil
While there are some risks associated with reusing your cannabis growing soil, there’s no reason it can’t be done. Below are 6 simple steps to do so. Follow them and you will slash the risk of exposing your plants to harmful pathogens or nutrient deficiencies.
Note: Never reuse soil from plants that suffered from diseases, fungal infections, or pest infestations. This list contains a bunch of tips to help you diminish the chances of any past pathogen or pests/insects remaining in your soil. However, these methods aren’t foolproof.
1. Loosen your soil
Old soil usually compacts, especially when used in pots or garden beds. In order for your new plants to get comfortable in the soil, you’ll want to break it up using your hands or a rake if necessary. This will help loosen the soil and make it easier for your new plants to develop strong root systems once you’ve planted them.
2. Remove old roots, etc.
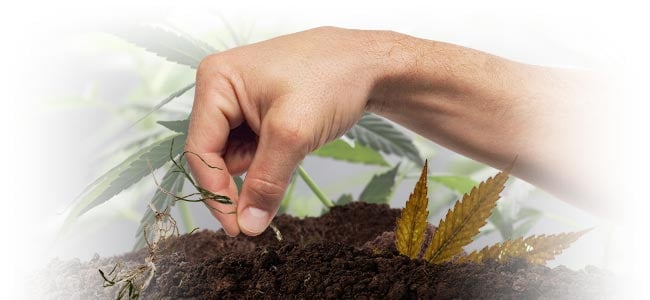
As you break up your old soil, you’ll likely stumble across roots and possibly even some foliage (like dead leaves and branches) left behind by your old plants. Be sure to remove and discard these. This will help maximise the amount of soil your new plants can settle in, while reducing the transmission of pathogens or pests to your new plants.
3. Rest and pasteurise your soil
Once you’ve raked and cleaned your old soil, it's a good idea to rest and pasteurise it before introducing your new plants. To do so, first wash out your soil with boiling water. This will help kill off any pathogens and insects. Then, transfer your soil into plastic bags (make sure to dry it before doing so). Close the bags, then bake them in the sun for roughly 15 days.
This will help replicate the pasteurisation process used in commercial soil production. As the temperature in the bags rises, any remaining pathogens, weed seeds, insects, and other unwelcome elements will be killed off.
4. Rebuild the micro-life of your soil
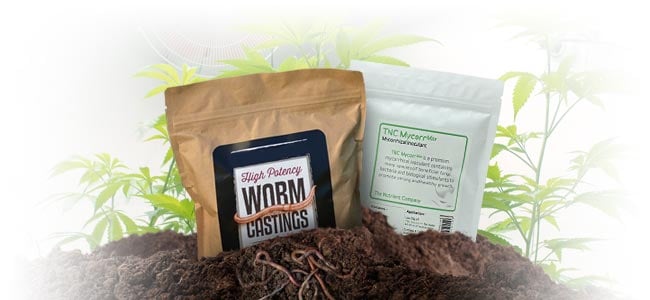
Healthy soils are comprised of complex ecosystems containing a wide variety of microscopic lifeforms. These lifeforms play a really important role in the growth and development of your plants. Hence, before introducing your new plants, you’ll want to spend some time rebuilding the micro-life in your soil. This will ensure your plants flourish once they’re settled in.
One of the best ways to introduce new microscopic life into your old soil is by using worm castings. If you compost at home, you’ll be able to obtain this pretty easily. Simply stretch your old soil with an extra 15-20% worm castings from your home compost. If you don’t have your own compost, buy some worm castings from a local gardening center.
If possible, also consider adding some extra minerals and healthy fungus and bacteria to your soil, such as trichoderma and mycorrhizae. You should be able to source these from garden centers, too.
5. Add extra soil
As we mentioned earlier, you’ll usually be left with slightly less soil after a harvest (often about 25% less than what you started with). To make up for the loss, make sure you stretch your old soil with a new organic mix before introducing your plants.
6. Bring in your babies!
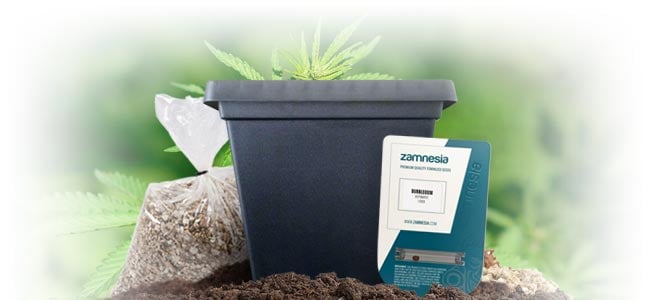
Once you’ve followed the previous steps, it's time to introduce your new plants!
Simply sow your seeds or repot your seedlings as you would normally. If you want to create a bit more airflow in your soil, consider mixing in about 15% perlite, vermiculite, or coco coir to your soil before planting. As we mentioned earlier, old soil can be a bit compact, so adding these substrates will help loosen it up a bit further.
Recycle Your Soil Today
Recycling old growing soil can be a bit scary. However, by following the above steps, you’ll help optimise the quality of your soil. This will help ensure healthy plants, all while maintaining a more sustainable and cost-efficient garden.

